MOVEit Top Tips - MOVEit Managed File Transfer

MOVEit Transfer Tip: Setting Up and Using Webposts

Written by Admin | Mar 31, 2017 9:04:00 AM
One of the less obvious areas of functionality in MOVEit Transfer is the Webpost.  Webposts allow end users to anonymously submit information into MOVEit Transfer without uploading a file.  Instead, information that the end user enters into various fields is created as the file itself.  Webposts can be made from websites other than the MOVEit Transfer site, allowing them to be merged into other applications.  This functionality can be quite useful when you want to gather information in a certain format, for example gathering information for a special file transfer, user creation request, or support ticket.

To get started with setting up a Webpost, first login to MOVEit Transfer and click on the folders link.  Here you will see that there is a system folder named Webposts. (System folders are denoted by having a spanner on the folder icon.  Navigate into the Webposts folder and create a new folder as you would anywhere else in the system.

Once you have created the folder, open the settings screen to configure it accordingly.  Most of the settings appear in exactly the same way as any other folder, but towards the end of the page you will find some differences.  The first of these is the Webpost Response section.  This overrides the ‘External URL’ setting in the general Settings screen.


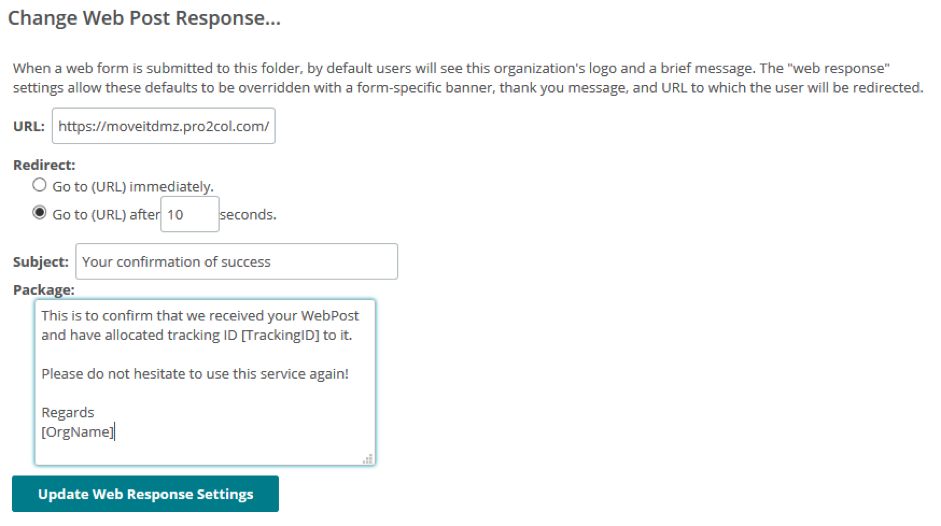
Here you can specify the URL that you want the user to be redirected to after they have completed the Webpost.  You can redirect immediately, or optionally provide a confirmation page for a few seconds (the subject/package fields) – you may use macros here if desired.

The next section allows you to apply a custom banner to the redirect page if required (not obligatory).  Finally (and most importantly) , a snippet of HTML to be used in the Webpost page is displayed, customised to include the folder name and organisation ID.  These are two mandatory fields in the form which are set to ‘hidden’ and should not changed.

The next step is to create a webpage to contain the Webpost form.  You may include as many fields as you want, for example to add a name and text field to the already suggested email address, you could code this;

As you can see, in this instance some steps have been taken to enhance the appearance of the resulting page; stylesheets and images may be incorporated as well – as long as the form is available.

As mentioned already, Webposts are anonymous, so no credentials are stored anywhere.  Upon submission, the end user is redirected to the confirmation screen as detailed in the Webposts folder setup (this is the default text):

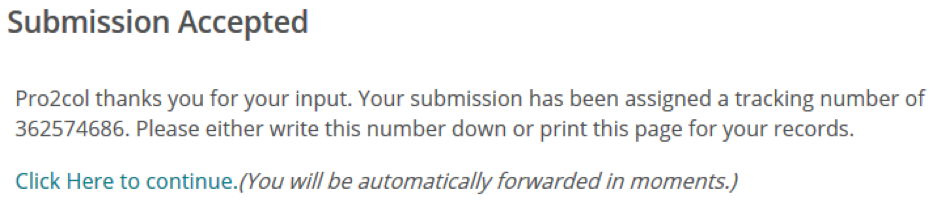
Now that the Webpost has been successfully submitted, the resultant file can be collected from MOVEit Transfer in either XML or csv format.

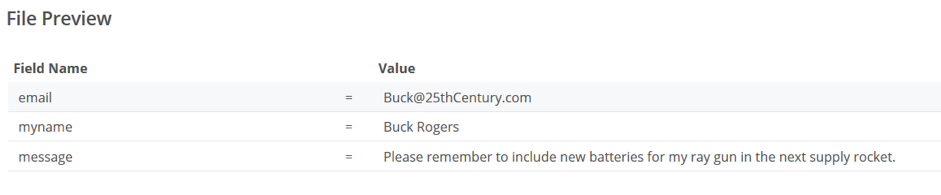
There is also a handy File Preview function:

When used in conjunction with MOVEit Automation (which can read header information and append files), this is quite a powerful little known but useful tool.

Webposts are an integral part of MOVEit Transfer and do not require additional licencing.