
MOVEit Automation 12.0 (2020) included with it Azure blob as a native host type. Prior to this, if you needed to interact with Blob storage, you had to write your own connector as a custom script.
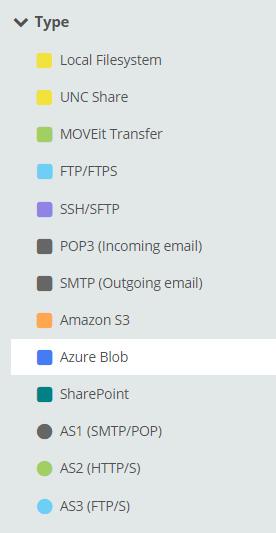
Azure Blob is available to select as a host type either from filtering in Automation or from the Add Host menu. Note that since the deprecation of the old ‘fat’ client, you need to use the web UI if you want to add a new Azure Blob host, although you can still view the host from the older client.
You can add a new host quite simply by completing the relevant fields on the ‘Add Azure Blob Host’ screen.
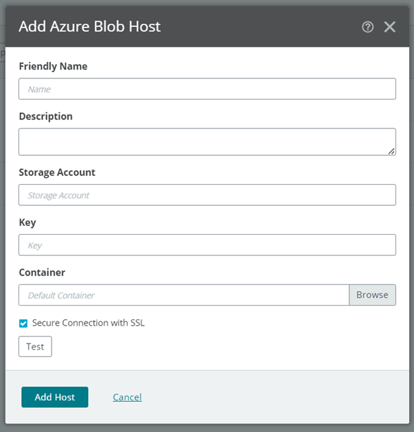
Most of this information can be pulled from Azure itself:
- Friendly Name - How you will refer to the blob in MOVEit
- Description - What you are using the Blob for
- Storage Account - In Azure, the storage account that owns the blob
- Key - In Azure, the Access Key assigned to the storage account
- Container - In Azure, the container that you wish to interact with. Containers exist inside storage accounts
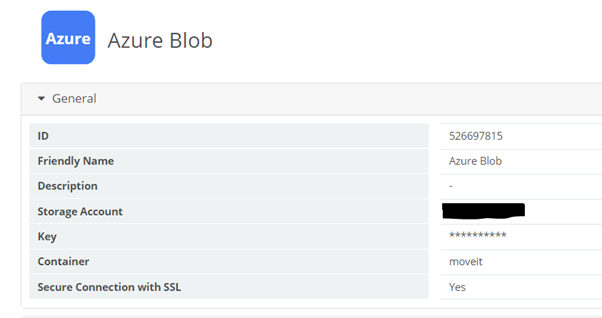
Once you save this information using the ‘add host’ button, you can then reference the container in a MOVEit task.
Broadly speaking, other than the standard set available on other host types (retries, cache settings etc.), there are no advanced settings for Azure blob. However, there is one extra settings that you may wish to pay attention to, namely ‘Data Timeout’.
Data Timeout is useful when you are transferring large files to and from Azure blob. It literally does what it says and keeps the channel open for a certain number of seconds. It’s needed because there is no obvious evidence that data is still in the process of being transferred until the end of packet notification is received.
Use in a task
You can add the Azure blob host type as either a source or destination in a task (and override parameters if required). Azure blobs can be used in all task types.
Finally, please note that on previous versions of MOVEit Automation there were issues with using the Azure blob connector when you were required to use an HTTP proxy to reach the internet from your automation server. This has been resolved in MOVEit Automation version 15. (2023.0)
Not on the latest version, here is the original blog:
Ipswitch have added several new features to MOVEit Automation in the last year, including a connector for Amazon S3 storage in MOVEIt 2018 to upload and download files. As yet though, there is no connector for Azure storage. We will wait to see if this is added to next year’s releases, but in the meantime you can create your own connectors using Powershell as a process.
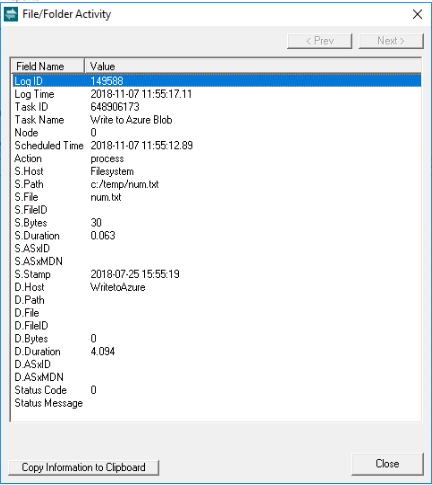
Firstly, it is important to mention that a process and a destination do not work in the same way. While you can easily script an upload through a process, the results (files, byte counts) will not appear in reporting, as is shown in this image:
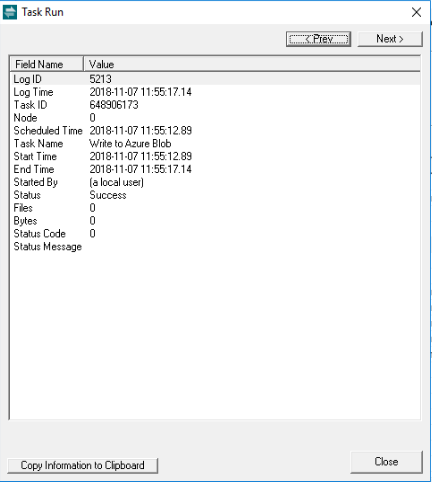
Admittedly, you can drill down to the detail, but even that does not necessarily show you everything that happened. In this example the file was uploaded with a new name and directory structure, but that isn’t recorded:
Getting started
Azure blob storage does not work like a traditional file system. Objects (‘blobs’) are written to a single area known as a container. You may have several containers defined under a storage account, and may have several storage accounts defined in your Azure profile. A container works a bit like a folder, but is in fact closer to a bucket. When you write a blob to a container, you may optionally embed one or more slashes into the name. This doesn’t create true folders, but from a practical standpoint it helps keep things in some kind of order. Always remember though that the slash is part of the name.
Before you start trying to script anything, be sure to install the Azure Powershell library: https://docs.microsoft.com/en-us/powershell/azure/install-azurerm-ps
Any script that you run will need to import the modules AzureRM.Profile and Azure.Storage. Or else these need to be in the MOVEit Automation user profile. You can do this with:
Import-Module -name “<powershell module library>\AzureRM.Profile”
Import-Module -name “<powershell module library>\Azure.Storage”
Connecting to Azure Storage
You need to authenticate to use Azure blob storage. It’s easiest to use a storage key, rather than enter credentials. Get this by going to your Azure portal and checking the access keys of your storage account (you can also get it via powershell if you prefer).
Once you have the key, you need to set the storage context. This is a straight forward command:
$StorageContext = New-AzureStorageContext -StorageAccountName <Storage Account name> -StorageAccountKey <Storage Key>
Finally, add a line to upload a file. This one uploads file “c:\temp\123.txt” into the container “uploads”
Set-AzureStorageBlobContent -Context $StorageContext -Container “uploads” -File “c:\temp\123.txt”
You can also set a new destination name if required using the ‘blob’ option. You can control overwriting of existing files using the ‘-Force’ parameter if required.
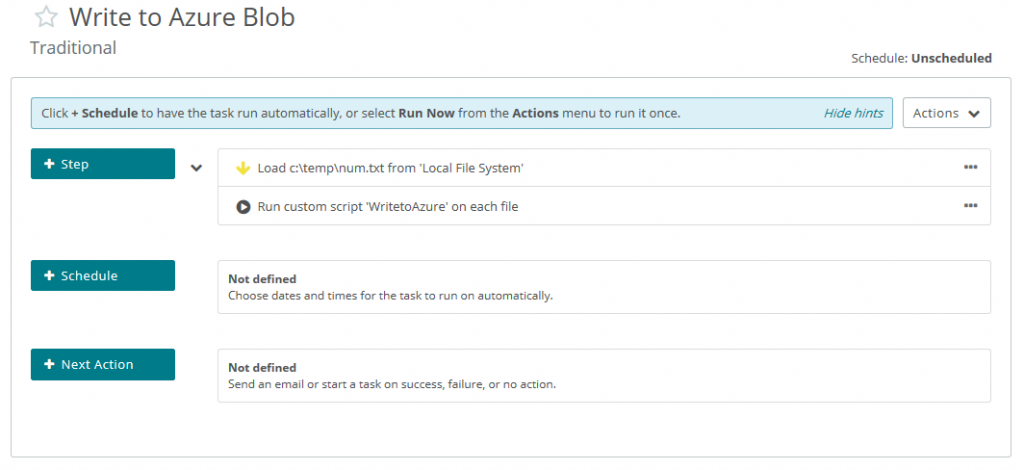
Pull it into MOVEit
So we now have a basic script which can be pulled into MOVEit Automation. Using the Automation web portal, we can import these few lines, then modify them using the powershell script editor.
There are some MOVEit-specific functions that you can obviously only test from inside the product that we will need to use:
- MIGetTaskParam
So that we can pass parameters - MIGetOriginalFilename
Get the original filename - MICacheFilename
The file that we will upload
You may also want to use MISetErrorCode and MISetErrorDescription to display any errors. If you do this it makes sense to wrap the whole thing up in one try – catch.
This is my script:
try {
Import-Module -name “c:\program files\windowspowershell\modules\AzureRM.Profile”
Import-Module -name “c:\program files\windowspowershell\modules\Azure.Storage”
$Storageaccountname = $miaclient.MIGetTaskParam(“StorageAccountName”)
$Storagekey = $miaclient.MIGetTaskParam(“StorageKey”)
$Container = $miaclient.MIGetTaskParam(“Container”)
$NewName = $miaclient.MIGetTaskParam(“NewName”)
if ($NewName -eq “”) {$NewName = $miaclient.MIGetOriginalFilename()}
$MIFile = $miaclient.MICacheFilename()
$StorageContext = New-AzureStorageContext -StorageAccountName $Storageaccountname –
StorageAccountKey $Storagekey
Set-AzureStorageBlobContent -Context $StorageContext -Container $Container -File $MIFile -Blob
$NewName -Force
} catch {
$miaclient.MISetErrorCode(99)
$miaclient.MISetErrorDescription($Error)
}
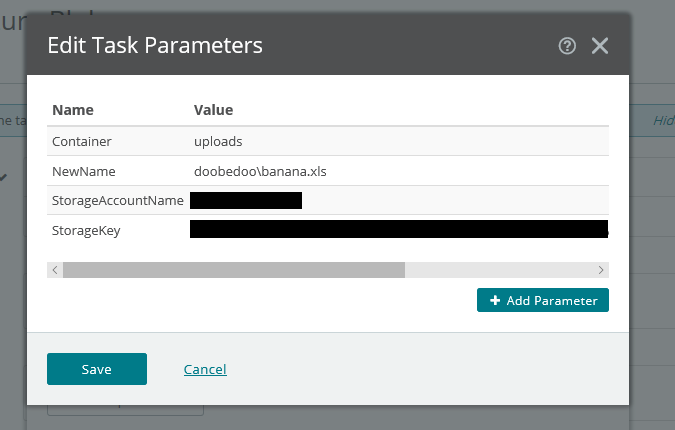
The script is then called from a task, passing parameters:
Finally, you can create a new container through script as part of the upload process:
New-AzureStorageContainer -Context $StorageContext -Name mynewcontainer
If you wish to download files, use the following syntax instead:
Get-AzureStorageBlobContent -Context $StorageContext -Container “uploads” -blob banana.xls
This will provide a basic solution, but if you would like to discuss more complex requirements, please contact us on 0333 123 1240 or email your account manager.
Compare MFT solutions


Guides:

Need UK-based MOVEit support?
We are certified Progress MOVEit Titanium Partners and our team includes the UK’s leading MOVEit expert.
See our range of support and consultancy services to help you get the most out of your MOVEit solution.